

Winter with a Twist Ear Warmer - Free Patterns
*Disclaimer *
“This post may contain Affiliate Links with the companies we've choosen to partner with. JusBeeCreations Crochet Designs may receive a small compensation at no additional cost to you when you purchase items through our affiliate partners. Read our Privacy Policy.
Introduction
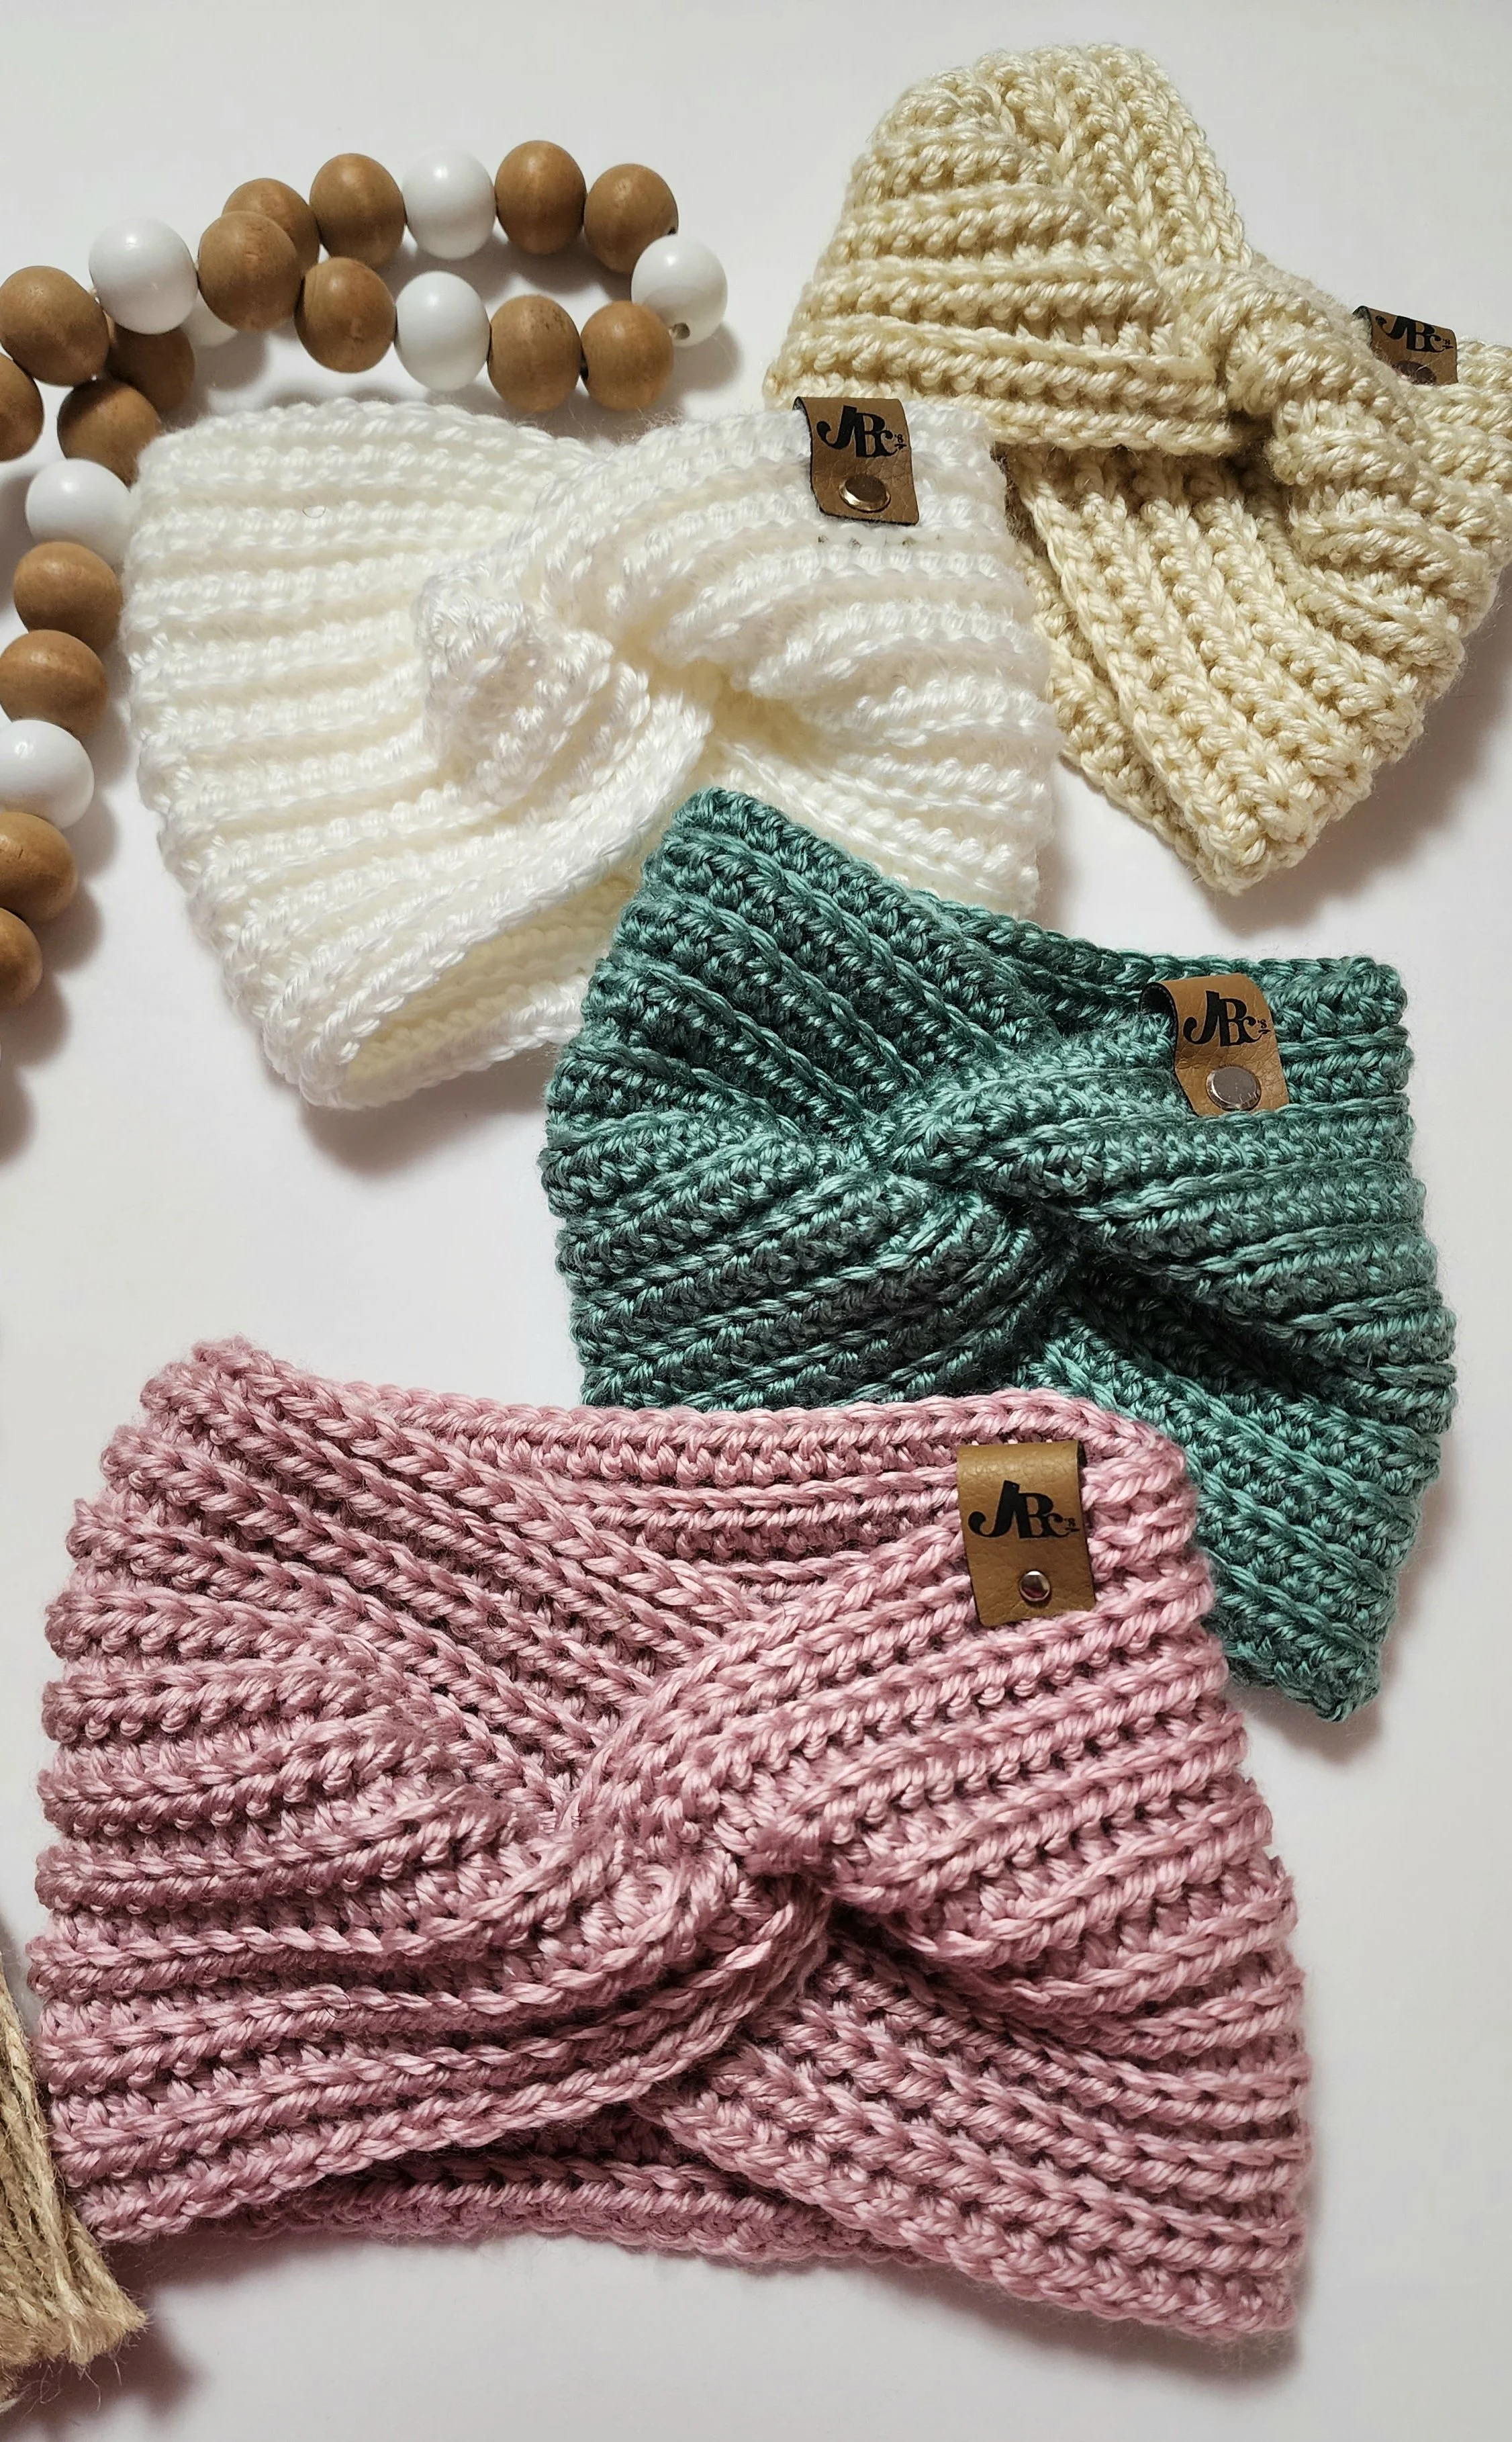
The Winter with a Twist Ear Warmer pattern is one of my personal favorites that never fails to ignite my excitement. The design is crafted using Wander from Furls Crochet, which provides a beautiful sheen to the finished design. By switching between the HDC and HDC SL ST, an intricate textured stitch is achieved. Although this pattern is for advanced beginners, it is not as difficult as it may appear, and only requires knowledge of the aforementioned stitches. The pattern comes in four sizes - Baby, Toddler, Child, and Adult - and uses Standard American Terms with English instructions.
YaRn Requirements
Wander Acrylic Yarn by Furls Crochet
100% Premium Acrylic
Medium # Worsted Weight Yarn
120yds/100g
Colors Used- Snow, Aurora, Surf and Alabaster
1 ball required

Materials
Weaving Needle
Stitch Marker
Measuring Tape
Scissors
Personalized Garment(Tags)
Hook Requirements
Jupiter Streamline Galaxy- 5.5mm

Pattern gauge
13sts and 14 rows= 4'' with 5.5mm crochet hook
Sizing
This pattern includes 4 different sizes.
Baby - 14"- 16"
Toodler- 16"- 18"
Child - 18"- 20"
Adult- 21"-23"
Abbreviations
HDC- Half Double Crochet
HDC SL ST- Half Double Crochet Slip Stitch
RS- Right Side
WS- Wrong Side
REP- Repeat
SL ST- Slip Stitch
CH- Chain
YO- Yarn Over
Special Stitches
HDC- YO insert your hook into the stitch, pull up a loop. ( 3 loops on your hook)
YO pull through all 3 loops on your hook. Stitch is complete.
HDC SL ST- YO insert your hook into the stitch, pull up a loop (with your fingers pinch the the 2 loops already created) take the loop you just pulled up, pull it through the 2 loops left on the hook. Stitch is complete.
Pattern construction
For this pattern you will work it up in rows. You will begin by changing out the number of stitches needed for the size you are working. You will complete working the stitch pattern in rows and stopping when you've reached your desired size. Fastening off with a long tail for seaming the ear warmer together.
Pattern Begins
Baby Size 14''-16'' HeadCircumference
Note: When you work your hdc sts, work into the back bump of the ch. If this is to difficult you can work the st regular. By working in the back bump of the ch, it creates a nice clean edge.
Row 1 (RS)- Ch 65 in the second ch from the hook work hdc. Work 1 hdc in each ch across.
Ch 1 and turn. 64 sts.
Row 2 (WS)- Work 1 hdc sl st into the blo of the hdc st from the previous row. Ch 1 turn.
Row 3- Work 1 hdc in the blo, of the hdc sl st from the previous row.
Rows 4-12 Rep rows 2&3.
Row 13- Work 1 sl st in the blo of each st across. Fasten off with a long tail for connecting the ear warmer.
Go to final Steps.
Toddler Size 16''-18"
Head Circumference
Row 1 (RS)- Ch 69 in the second ch from the hook work hdc. Work 1 hdc in each ch across. Ch 1 and turn. 68 sts.
Row 2 (WS)- Work 1 hdc sl st into the blo of the hdc st from the previous row. Ch 1 turn.
Row 3- Work 1 hdc in the blo, of the hdc sl st from the previous row.
Rows 4-14 Rep rows 2&3.
Row 15- Work 1 sl st in the blo of each st across. Fasten off with a long tail for connecting the ear warmer.
Child Size 18"-20" Head Circumference
Row 1 (RS)- Ch 73 in the second ch from the hook work hdc. Work 1 hdc in each ch across. Ch 1 and turn. 72sts.
Row 2 (WS)- Work 1 hdc sl st into the blo of the hdc st from the previous row. Ch 1 turn.Row 3- Work 1 hdc in the blo, of the hdc sl st from the previous row.
Rows 4-16 Rep rows 2&3.
Row 17- Work 1 sl st in the blo of each st across. Fasten off with a long tail for connecting the ear warmer.
Adult Size 20"- 23" Head Circumference
Row 1 (RS)- Ch 77 in the second ch from the hook work hdc. Work 1 hdc in each ch across. Ch 1 and turn. 76 sts.
Row 2 (WS)- Work 1 hdc sl st into the blo of the hdc st from the previous row.
Ch 1 turn.
Row 3- Work 1 hdc in the blo, of the hdc sl st from the previous row.
Rows 4-18 Rep rows 2&3.
Final Steps
Make sure you have your Right Side facing. Take each side of your ear warmer and fold each side in half. Next, you want to sandwich your 4 pieces together. So, the bottom piece in your right hand goes into the middle fold of your left hand. The top piece on your right side goes over top the left piece in your left hand. The last piece in your left hand goes underneath the piece in the center. You should have 4 pieces intertwining. With your Weaving needle seam all 4 pieces together. Weave in all your ends and trim the extra yarn. Flip your ear warmer on the right side, you will see the twist! You've completed the Winter with a Twist Ear Warmer!


It all begins with an idea. Maybe you want to launch a business. Maybe you want to turn a hobby into something more. Or maybe you 1 have a creative project to share with the world. Whatever it is, the way you tell your story online can make all the difference.
Don’t worry about sounding professional. Sound like you. There are over 1.5 billion websites out there, but your story is what’s going to separate this one from the rest. If you read the words back and don’t hear your own voice in your head, that’s a good sign you still have more work to do.
Be clear, be confident and don’t overthink it. The beauty of your story is that it’s going to continue to evolve and your site can evolve with it. Your goal should be to make it feel right for right now. Later will take care of itself. It always does.